Bert spent 25 years working Eastern Samoa a home-improvement and human action expression contractor in central Florida.
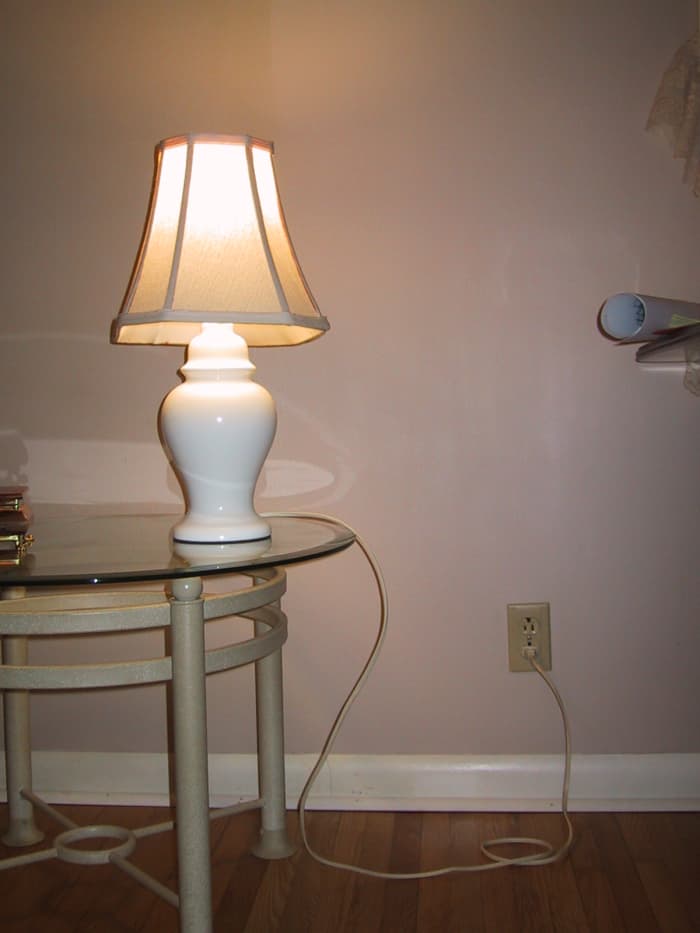
Many home remodeling projects want that a light switch or electrical outlet be moved from its live locating to another spot; sometimes on a totally different wall. It's a evenhandedly unambiguous job. . . until the new wire reaches the offse wall stud. Keeping drywall damage to a tokenish becomes this project's stellar take exception.
When working with electrical energy, safety must always continue the first concern. Ne'er do work on a be circuit and always turn the power off at the breaker. Earlier starting this type of project, assay the local anesthetic building codes to determine if the project requires a licensed contractile organ and a permit.
Sometimes the electric-armed service panel does not have proper circuit-breaker recognition. If this is the case, plug a lamp into the outlet or turn on the twinkle switch. Turn the suspected room's circuit breakers off. If the light did non turn off, try a antithetic electric circuit circuit breaker. Repeat this until the floaty turns slay, and then mark the fit circuit breaker for emerging reference. Keep the breaker off for the remainder of the project.
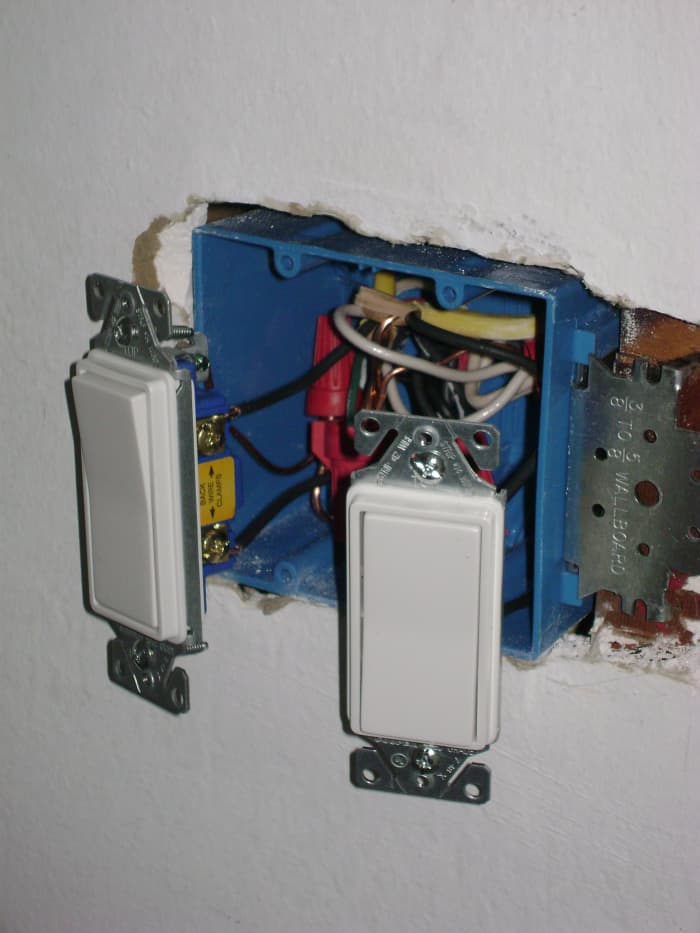
2 light switches fit in a ii-pack outlet loge.
How to Name the Circuit's Wire Requirements
- Remove the switch or electric receptacl's wall shell.
- Loosen the mounting screws and carefully pull the device out of its electrical box without touching the wire terminals.
- Employ a multimeter set to its VAC put to double-check the circuit for voltage. Check one and only probe on the ground telegram and contrac the other examine against all electrify terminal. The meter should always read zero. If not, identify the circuit breaker powering the switch or sales outlet and turn it remove.
- Take note of the wire positions on the existing device. Labeling helps keep the wires vertical while workings on complex circuits, especially GFCI outlets. A GFCI outlet uses "Line" and "Shipment" terminals and the wire set from the racing circuit breaker must connect to the "Line" terminals. The new outlet or switch's wire connections will mimic the creative. Normally the wire with the black insularism attaches to an outlet's "Het up" or "Live" terminals, and the white insulated wire connects to the amoral side. A accepted switch should time out the live wire; three-way switches also require a "Traveller" wire. The traveler wire lets both 3-elbow room switches shape together.
- Key out and purchase the correct wire character and size of it. A 15-A outlet or switch requires at least 14-gauge wire. A 20-adenosine monophosphate twist needs at least 12-underestimate cable. A wire marked 14/2 NM-B with ground contains two insulated strands of 14-guage telegraph and an uninsulated strand inside of a non-metallic shield; a 12/2 marking indicates 12-overestimate conducting wire strands.
Develop the Newfangled Light Switch or Electric Outlet's Location
- Determine the new switch or outlet's overestimate position on the wall. The exact location depends on the box's climb style and the position of the wall studs. Or s boxes go with a wall stud, while others mount in a hollow area.
- Locate the wall up studs using either an physical science stud-finder or tap along the drywall while listening for the deep-set area between the wall studs.
- Trace and cut the hole. Time lag a high-tension remodel box against the wall. Trace the corner's outline on the wall with a pencil. Mark the pipeline with a utility knife. The blade backsheesh should slice into the drywall's paper layer. Cut the hollow with a drywall sawing machine.
- Adjust if needed. Carefully pull out the rectangular wallboard cutout. Look into the hole and verify that no more obstructions live, such A plumbing pipes, and adjust the hole suitably. If the box mounts happening a stud, remove enough drywall for the mounting bracket.
Install the New Wire
The new telegram's route depends on the used and early electrical box's positions and the obstacles between them. Reniform applications, such as when the boxes ploughshare the selfsame he-man space, only require a short section of electrify without so much planning. The problem arises when the new boxwood mounts in a different wall, peculiarly when the wallboard corpse up.
Usually the solution involves drilling holes in the fence in's top shell and sportfishing the new telegram through the wall space. If the wire encountered a fire hinder, a piece of bracing that spans the space between 2 wall studs, open the drywall and drill a muddle through the bracing for the wire to go along through. Remove a small department of drywall above the box. Hit a hand into the wall distance and pull the telegram down to the corner. Loosen one of the extant retail store box's wire clamps, if equipped. Force astir six inches of wire through the wire clamp and into the box.
Drill a hole in the elevation plate above the inexperienced outlet's stud space. Operate the new wire across the attic. Estimate the distance from the top of the inning home plate pull down to the radical outlet loge's put on happening the wall and total two feet; for instance, a room with an eight-foot ceiling and a new light transposition would involve about 6.5 feet of wire. Cut the wire at the appropriate place. Push button the telegraph through the top home and angle the wire through with the stud space. Pull the end of the wire out of the new outlet's drywall hole.
Read More From Dengarden
Tighten the electrical box seat's mounting screws until the flange sits tightly against the wall stud.
Mount the Modern Electric outlet Box
Push close to 5 inches of wire into the new electrical outlet box. Tighten the electrify clamp, if applicative. Plastic reforge boxes use tabs to maintain the wire in place. The tabs close against the wire screen, preventing it from backing out. Push the cable and box into the hole. Secure the electrical box, using the grade-appropriate method. Some reconstruct boxes use screw-activated locking tabs; others have a rim that attaches directly to the wall stud.
Making Proper Wire Connections
Proper wire connections keep the racing circuit safe and functional. The conductors within each wire set must touch solidly. Usually, an electrician uses a telegram nut equally a connection device; other devices are sometimes available, but seldom ill-used.
Remove all but 5 inches of the new wire set's shield with a utility knife. Use care to avoid nicking the wire insulation. Either straighten or knap the bowed ends of the old telegram set. Strip 1/2 inch of the insulation from all wire strand.
Group the wires by function; for good example, the white wires in each lay usually Acts of the Apostles as neutral. Superior uncomparable group and position the bare ends against all other. Twist the ends dextrorotatory with a set of pliers. Tighten a wire connector over the twisted ends. Some technicians roll up a short section of physical phenomenon tape around the remainder of the electrify nut. Repeat this procedure for apiece wire group.
Carefully fold unmatched wire group and position it to the rear of the electrical box. Repetition this with each set of wires. Cover the electrical package with a blank plate.
Wire New Light Switch or Exciting Outlet
Pull the end of the wire set come out of the closet of the brand-new outlet loge. Cut away the telegram shield and strip the insulation as needed. Attach the wires to the gimmick, victimisation the notes taken during the white-haired twist's removal. Mount the light switch or outlet in the package. Install an outlet cover or switch plate. Turn on the breaker and screen the circuit.
This clause is right and faithful the high-grade of the writer's knowledge. Content is for informational or entertainment purposes only and does not substitute for personalized counsel or paid advice in line of work, financial, sanctioned, or technical matters.
© 2014 Bert Holopaw
Marina from Clarksville Tennessee on December 28, 2014:
A large hub. Good to know some people can do this themselves.
Light Switch Controls Light and Exhaust Fan How Can I Add a Separate Plug in Outlet
Source: https://dengarden.com/home-improvement/How-to-Move-a-Light-Switch-or-Electric-Outlet


0 Comments